Braun6 Cruzer |
|
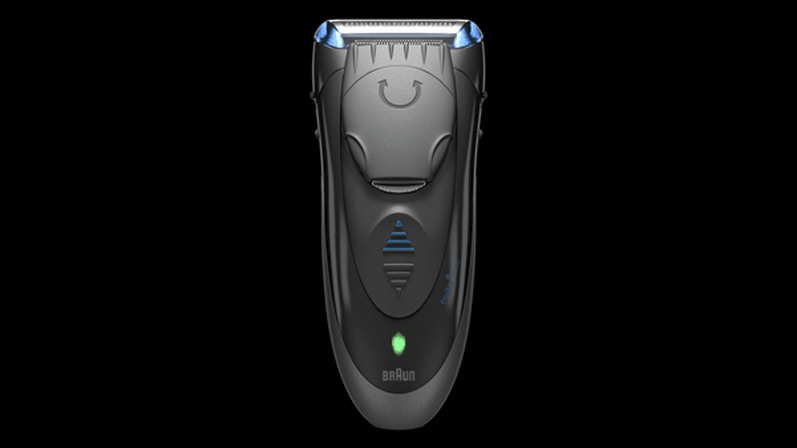
IntroductionThis project started during the Maya Core course at the Escape and was developed a bit further into a series of three shots. The main focus was on modeling, lighting and integration. I chose this type of razor because of the interesting shape and because I could take pictures of it with my camera.
ModelingThe challenge here was to get the nice curved line of the different parts while keeping the topology consistent. The best technique I found was using Nurbs to get the shell of each piece, and then working with polygons to make it a solid shape.
The several reference pictures I took were the key for this process as I could draw construction curves consistent in all the orthographic views. The Nurbs surfaces were just the perfect starting point where to snap the polygon vertices. It was a long process, but I was happy about the result. 
LightingI decided to split the project into two parts, one inspired by a studio lighting setup and one showing the integration in a real life footage.
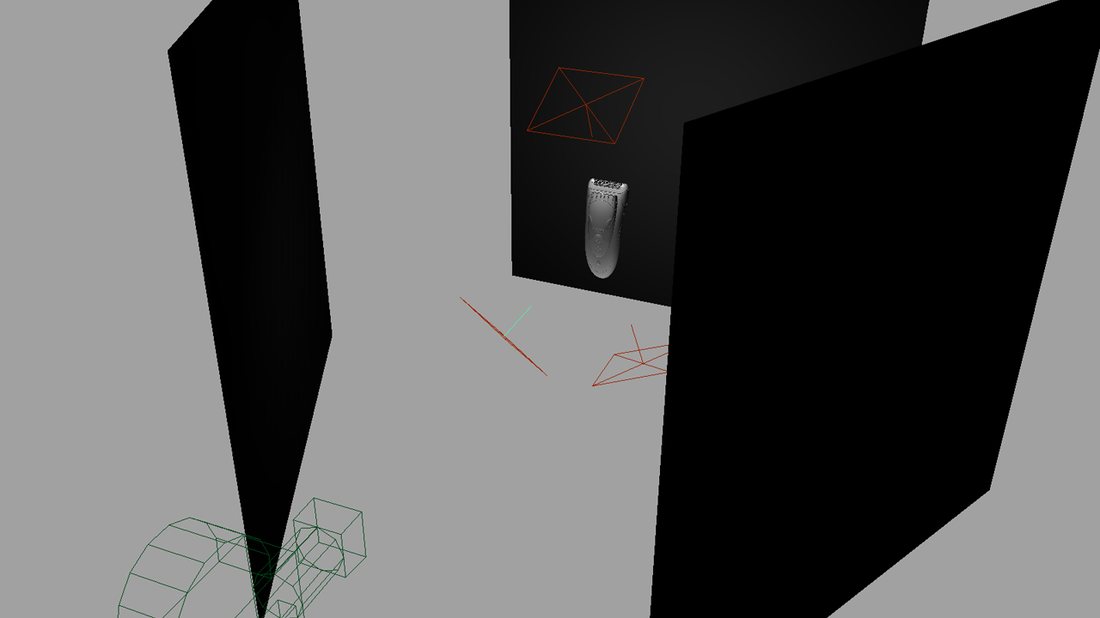
For the first two shot the setup is made of one key light on top, two fill lights at the bottom, and lighting panel as a rim, plus two bounce cards.
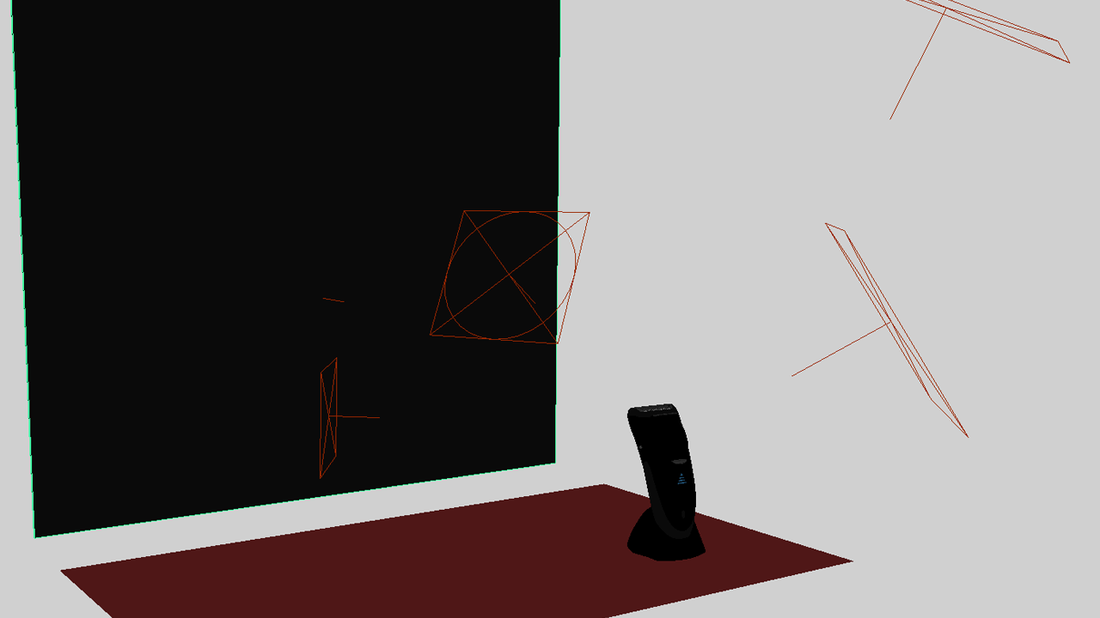
For the integration I used a setup with IBL plus a few more lights to help me get to this result. The main light source is the window so I used an area light behind a translucent plane. I mapped a ramp to get color and reflection consistent with the footage.
Render And CompI used Mental Ray, Mia materials and the Car Paint shader for the plastic parts of the body. For the first two shots the lights were split into different layers to be used in Nuke.

|
